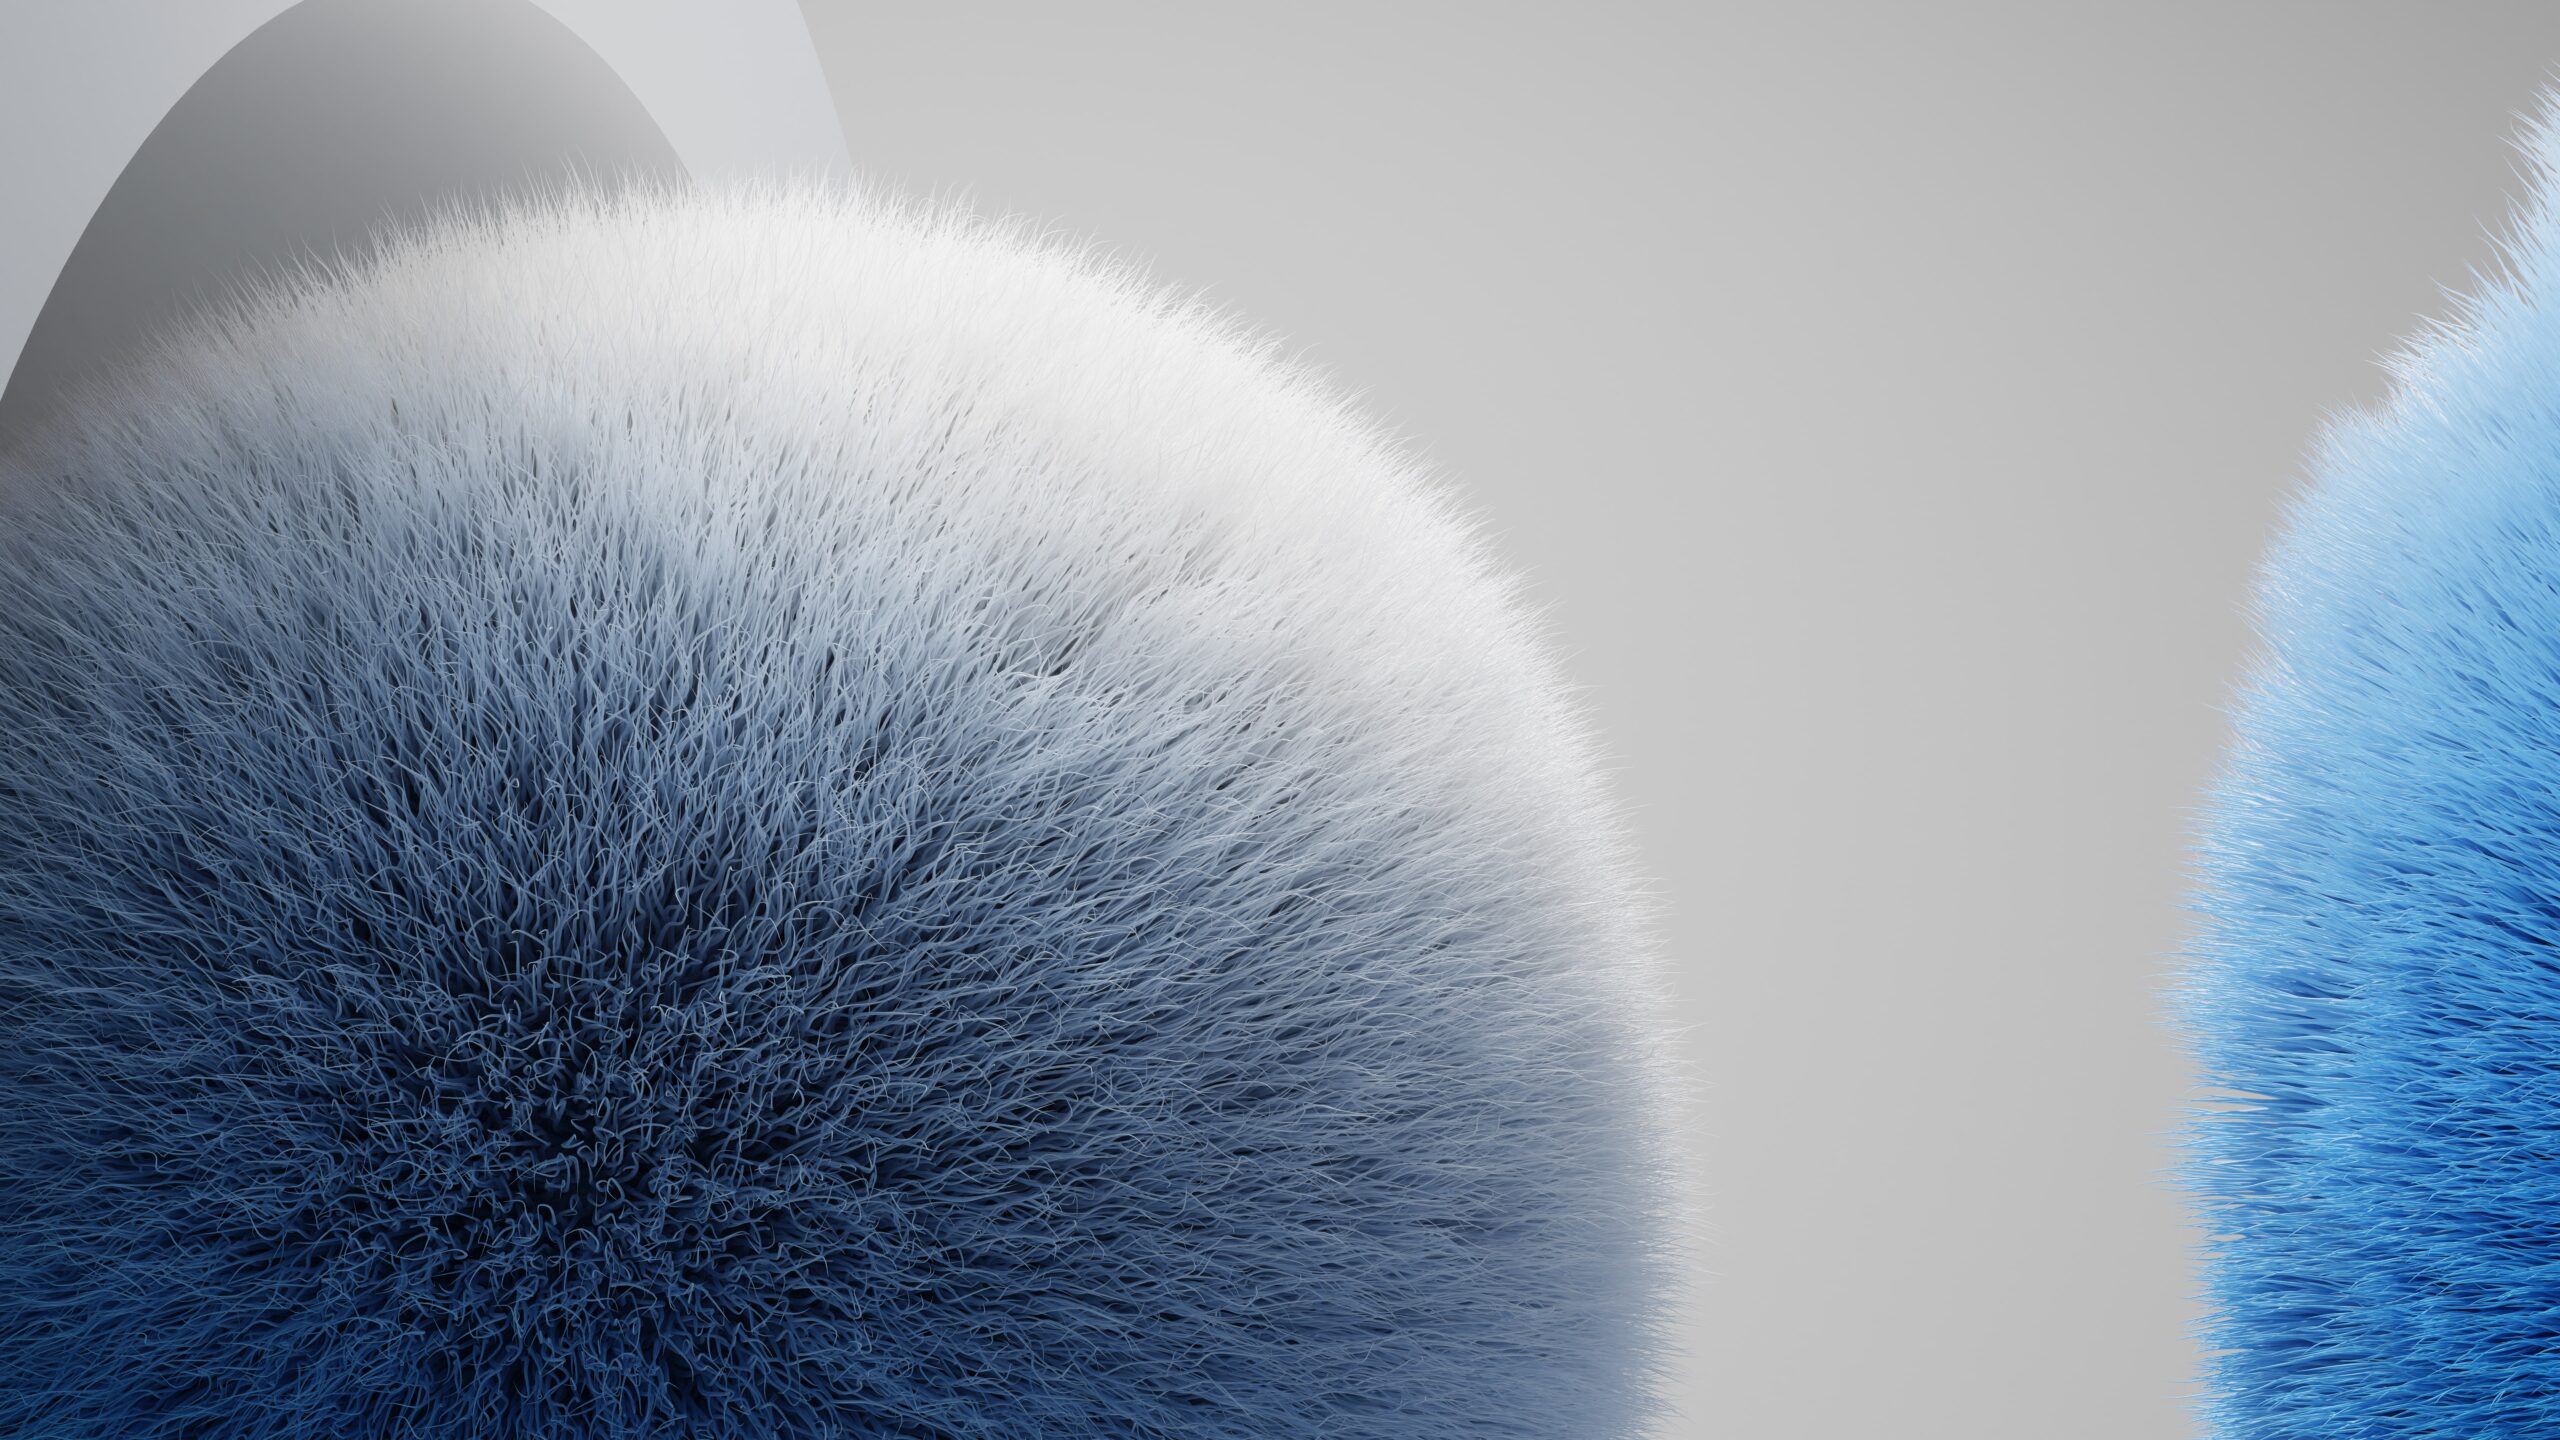
Realistic 3D Fur Effect with Adobe Illustrator
Adobe Illustrator is a powerful and versatile vector graphics programme that can be used for many types of projects. One of the more impressive effects you can create with this programme is a realistic 3D fur effect. In this article, we will discuss how to go about creating an amazing 3D fur effect with Adobe Illustrator.
The 3D fur effect is a great way to add texture and dimension to your illustrations and designs; it looks especially good when used in combination with shadows and highlights.
Introduction: Overview of the 3D fur effect
The 3D fur effect is a popular and eye-catching technique used in graphic design projects, such as logos and illustrations. With Adobe Illustrator, the process of creating a realistic 3D fur effect is relatively straightforward. This article will provide an overview of what you need to know about creating this effect with Illustrator.
Creating a 3D fur effect involves using certain tools available in the software, such as gradients, opacity masks, and clipping paths. Gradients can be used to give the fur texture and depth while opacity masks help add shadows or highlights to the fur’s surface. Clipping paths can be used to shape the overall look of the fur by defining its limits or boundaries. When combined together these tools create a realistic looking 3D fur effect that adds dimensionality to any design project!
Creating fur with Illustrator
Creating fur with Adobe Illustrator can seem intimidating at first. However, using the built-in tools in Illustrator, it is possible to create realistic 3D fur effects without too much hassle. The key to achieving this is by utilising the “Satin” effect and adjusting the various settings until you achieve your desired look.
First, create a new layer and draw a shape for your base object (such as an animal or plush toy). Then select the shape and go to Effect > Stylize > Satin. In the Satin window, set the Mode to colour Burn and reduce the Opacity until it looks natural enough for your project. Adjust other settings such as Angle, Distance and Size until you get a fur-like texture that looks convincing. Finally add some shadows on different layers if needed to give more depth to your design.
Adding colour to fur
Adding colour to fur is an important step in achieving a realistic 3D fur effect with Adobe Illustrator. Before you begin, it is important to choose the correct colours for your project. Consider using two or three hues that work well together and are appropriate for the subject matter. For example, if creating a lion illustration, use warmer tones such as oranges, yellows and browns. To add the colour to your design, use either gradient fills or solid strokes with a Gaussian Blur effect applied to them. Experiment with different values to achieve the desired look and feel of the fur texture.
Additionally, adding shadows can create depth and bring your illustration to life by making it appear more realistic and three-dimensional. By following these steps you will be able to achieve a realistic 3D fur effect with Adobe Illustrator that stands out from the rest!
Adjusting fur properties
When it comes to giving your 3D fur effect a more realistic look, adjusting the properties of the fur will be key. The main properties you want to adjust are the length, density, and colour.
To adjust the length of your fur, click on the Fur brush tool in Illustrator and select “Length” from the menu. From here you can drag the slider to make your fur longer or shorter according to your needs. To change its density, click on “Density” in the same menu and use this slider to increase or decrease how thick or thin it looks. Finally, when it comes to changing its colour simply select an object with that has been created with a Fur brush and use Illustrator’s normal colour pallet tools such as eyedropper or hue/saturation sliders to customise its hue and saturation levels.
Creative Adobe Illustrator techniques
Adobe Illustrator is the perfect graphic design tool for creating realistic 3D fur effects. It’s versatile enough to create a variety of textures and shapes with just a few clicks. With its vector-based drawing capabilities, Adobe Illustrator offers several techniques that allow you to create professional-looking fur effects quickly and easily.
One technique is using the Blend Tool to produce gradual transitions between objects. This creates a smooth, natural-looking transition from one shape or texture to another, which can be used to add depth and realism to your fur effect. Another technique involves using the Gradient Mesh Tool, which allows you to apply colour gradients across multiple points in your image. By adjusting these properties, you can achieve an almost infinite range of shading for your fur effect.
Professional tips for using Illustrator
Adobe Illustrator is a powerful vector graphics programme that can be used to create stunning 3D fur effects with relative ease. With the right techniques and a bit of practice, anyone can learn to use Illustrator to achieve professional-looking results. Here are some tips for getting the most out of Illustrator when creating realistic 3D fur effects:
First, it’s important to understand the basics of using brushes in Illustrator and how they can be used to create different types of fur textures. You should practice experimenting with different brush settings until you find settings that mimic real fur patterns and textures. Additionally, adding gradients will help add extra depth and realism to your fur design.
Another useful tip is learning how to combine multiple shapes into one single shape. This will allow you to create complex fur patterns without having to use numerous individual paths. Finally, if you re creating a fur pattern that s similar to a real-world animal (or object), its important to play with the stroke and fill settings in Illustrator.
Designing with vector art in Adobe Illustrator
Vector art is an incredibly useful and powerful tool when designing with Adobe Illustrator. Vector art allows the user to create shapes, lines and other objects that can be manipulated and scaled without losing any quality. For 3D fur effects, vector art provides a great way to achieve the desired effect. By creating a pattern of vectors in Illustrator, users can easily design realistic fur textures by changing the directions of vector points and adjusting the size of each vector element for added depth.
Additionally, vector art in Illustrator can be coloured using different gradients or solid colours for more customised styling. By utilising Illustrator’s Stroke feature, users are able to set line widths and dashes which will help add variance to their designs while also providing an extra level of realism. With these tools combined, designers are able to create amazing 3D fur effects within Adobe Illustrator quickly and easily.
Design efficient logos with Adobe Illustrator
Designing an efficient logo with Adobe Illustrator can be a great way to make your brand stand out in the crowded market. With Illustrator’s intuitive user interface, you have all the tools and resources needed to create an eye-catching logo that will help your business look professional and draw attention. Plus, you have access to a wide range of advanced features such as vector graphics and powerful colour adjustment tools.
Illustrator also provides customisable shapes and symbols that allow you to create unique designs for your logo. Additionally, its live text feature allows for easy font adjustments so that you can find exactly what best fits your company’s style. You can also use layers and transparency effects within the programme to add depth and visual interest to your design. With Adobe Illustrator, users will have everything they need to craft an elegant logo with ease.
Revolutionary graphic design tools
The introduction of revolutionary graphic design tools is revolutionising the industry. With new and advanced capabilities, designers can create visuals that are more realistic, intricate and engaging. Adobe Illustrator has been at the forefront of this movement, introducing powerful features such as its 3D Fur Effect that allows users to easily create a fur texture on any object. This tool is part of Illustrator’s advanced 3D effects package which includes powerful features such as lighting control and surface texturing.
With Adobe Illustrator’s 3D Fur Effect, designers can quickly achieve realistic fur textures with minimal effort. The effect can be used to simulate both long and short hair as well as other varying textures like wool or cotton. Additionally, users have complete control over the shape, length and colour of their fur creations so they can customise them to match their desired look.
Breaking boundaries: Bold graphic design
Breaking boundaries with bold graphic design is quickly becoming a trend in the world of digital art. Adobe Illustrator’s realistic 3D fur effect can help designers create an eye-catching and unique look that stands out from the competition. Not only does this feature allow for an ultra-realistic look, but it also makes it easy to customise and experiment with different textures and colours. With this powerful tool, users have complete control over every aspect of their design process.
Using Illustrator’s 3D fur effect to push creative boundaries is a great way to stand out as a graphic designer. By adopting this technique, users can go beyond traditional designs and explore new styles that capture attention. With its range of features, designers can easily create intricate shapes and patterns that would otherwise be difficult to achieve with traditional techniques.
Unleashing the power of colour in graphics
Colour is an important tool when creating 3D fur effects. With the right balance of colours, designers can create a realistic effect that brings life to their work. By using vibrant and contrasting hues, designers can create depth in their graphics, making elements appear more real and striking.
In Adobe Illustrator, it is easy to explore the full range of possible colour combinations for 3D fur effects. Colour selection tools such as the Swatches panel allow users to quickly pick out complementary colours for their design project. For example, selecting darker tones at one end of the spectrum and lighter shades at the other will help achieve a realistic play of light and shadows in your graphic illustration. Additionally, experimenting with tints and shades allows designers to add highlights or adjust levels of brightness within each area of their composition.
Re-imagining the rules of graphic design
Graphic design is an ever-evolving field, made all the more interesting by the continuous re-imagining of its rules. The new Adobe Illustrator update allows users to create realistic 3D fur effects with ease and accuracy, giving designers a whole new platform on which they can develop their own unique designs.
The addition of this powerful tool to Illustrator has already been embraced by many in the graphic design industry as it provides a level of control and precision that was previously impossible. Designers now have full control over the look and feel of their creations, allowing them to experiment with bolder ideas than ever before. Plus, it’s much simpler than attempting to recreate these effects manually in Photoshop or similar software – creating 3D fur effects is as easy as dragging and dropping!
Making it memorable: Creative visuals
In order to make a realistic 3D fur effect with Adobe Illustrator, it is important to create creative visuals. One way to do this is by adding shadows that change in direction and depth depending on the fur’s length. This will give the illusion of depth and help viewers become more immersed in the image.
Additionally, bright colours for the background can make for a striking contrast against darker fur tones, creating an eye-catching image. Small details like sparkles or other reflective elements can also be added to add movement and interest to the design. Finally, hand-drawn textures such as small lines or dots can help bring out individual hairs which will add realism to your design. With these techniques you can create a memorable 3D fur effect using Adobe Illustrator!
Inspirations for captivating colour combinations
Colour combinations are instrumental in achieving a realistic 3D fur effect. Combining the right colours can create an eye-catching look that brings a sense of realism to illustrations. To find inspiration for captivating colour combinations, designers can start by looking at nature and its diverse range of fur patterns and colours. For example, tiger stripes or the stark contrast between a white polar bear’s coat and its black eyes can often come together to create extraordinary visuals.
In addition to natural beauty, art is another great source of inspiration for creating unique colour palettes. From the classic works of Monet or Van Gogh to contemporary abstract artworks from Yayoi Kusama or KAWS, these celebrated artists have used bold yet harmonious colour combinations in their works that bring energy and dynamism to every illustration.
Defining Adobe Illustrator
Adobe Illustrator is a vector graphic design programme used for creating logos, illustrations, web graphics and other artwork. It’s part of the Adobe Creative Cloud suite of products and is considered to be one of the leading programmes in the industry. Illustrator has been around since 1987 and its appeal lies in its ability to create clean-looking vector images that remain crisp when scaled up or down.
Illustrator works by using mathematical equations to create shapes which can be manipulated with tools such as the Pen Tool or Shape Builder Tool. These shapes are composed of points, lines and curves that form scalable objects known as vectors which retain their sharpness regardless of size changes. This makes it an ideal programme for creating logos as they can easily be sized up or down without losing any quality. It also provides endless possibilities for complex effects such as 3D fur which this article will explore further.
What are the features of Adobe Illustrator?
Adobe Illustrator is one of the most widely used vector graphics software applications in the world. It is an essential tool for creating logos, illustrations, web and mobile graphics, animation, and more. Adobe Illustrator’s features enable users to create high-quality designs quickly and easily.
One of its key features is a comprehensive set of drawing tools which allow you to create shapes with precision and accuracy. The Pen Tool allows you to draw lines and curves that can be edited at any time; the Brush Tool lets you brush objects with various brush styles; Shape Builder makes it easy to combine multiple shapes into one object; and the Eraser Tool helps with editing or erasing parts of your artwork.
Additionally, Adobe Illustrator offers a wide range of blending modes so that users can achieve realistic effects such as shadows, highlights, textures, gradients and more.
What are the benefits of using Adobe Illustrator?
Adobe Illustrator is a powerful graphics and illustration software used by professionals in various industries across the world. It offers a wide range of features for creative and technical illustrators, including the ability to create advanced vector designs with precision accuracy. This article focuses on how Adobe Illustrator can be used to create realistic 3D fur effects.
Adobe Illustrator has many advantages that make it ideal for creating 3D fur effects. Its vector-based drawing tools allow users to easily adjust shapes, move points, and rotate objects without losing any quality or resolution in their designs. Furthermore, its powerful editing capabilities enable designers to quickly modify and enhance their artwork with ease.
Additionally, with its wide range of brush options, users are able to customise their strokes with great control over colour, texture, size and shape of the stroke being created.
Defining graphic design
Graphic design is an art and profession which combines various elements of visual communication such as illustration, photography, typography, colour theory and more to create visuals that convey a desired message. Graphic design can be seen everywhere from marketing materials to websites, logos to magazines. It is used in a variety of mediums from print to digital applications.
Graphic designers use their skillset to create aesthetically pleasing and effective visuals for clients. They must understand the basic principles of design such as composition, layout, scale and balance in order to produce high quality work. They also need an understanding of current trends as well as knowledge of software programmes like Adobe Illustrator or Photoshop in order create their designs. Graphic designers also heavily rely on research in order to provide the most accurate visuals for their target audience.
What are the different types of graphic design?
Graphic design is a creative field that involves designing various visuals, such as logos, websites, posters, and other forms of digital media. It combines art and technology to create visually appealing images that can be used for a variety of purposes. There are several different types of graphic design that involve different techniques and tools.
Vector-based graphics are the most common type of graphic design and involve creating graphics with software such as Adobe Illustrator. This type of graphic design is often used for logos or illustrations due to its ability to scale up or down without losing quality. Raster-based graphics are also popular and involve utilising pixel-based images in programmes like Photoshop or Gimp. This type of graphic design is great for creating photo-realistic effects like 3D fur textures.
Conclusion: Unlocking creative potential
The potential for creative expression through Adobe Illustrator is unlimited. With a few simple steps, anyone can create realistic 3D fur effects with ease. This tutorial provides the basic understanding of how to use the tools in Illustrator to achieve these desired results. By experimenting and playing around with different techniques, users can unlock their creative potential and create new and exciting designs.
No matter what type of design you are working on, this tutorial will help you increase your skillset as an illustrator. Through practice, you can become more confident in your abilities and find new and innovative ways to bring your work to life. These techniques are not only useful for creating realistic fur but also for creating other types of textures in various art pieces. Unlocking your creative potential is the key to success when it comes to graphic design projects!
Join Blue Sky Graphics online design school today to learn more about graphic design!

